Suno Music Video: Visuals Guide for V6 (2026)
Make a Suno music video with Visuals: plan short scenes, manage visual credits and finish the soundtrack first, including an original WaveQuake workflow.
Contents9 sections
- 1. Lock the song before planning the scenes
- 2. Choose one visual idea that can sustain a sequence
- 3. Start with the documented Visuals workflow
- 4. Set duration and framing for the destination
- 5. Turn the song map into a realistic clip plan
- 6. Budget Visual Credits separately from music
- 7. Bring a WaveQuake song into the video workflow
- 8. Assemble, caption and review the finished sequence
- Frequently asked questions
Making a Suno music video now involves more than attaching a still image to a song. Suno introduced Visuals in November 2026, with tools for creating clips and arranging them around audio. The practical challenge is deciding what each short clip contributes to the song.
Start with the music. A late chorus replacement can change the timing of every visual that follows it. An approved soundtrack, a simple scene plan and a consistent aspect ratio make the video easier to finish than a folder of attractive clips with no shared purpose.
This guide follows the current Suno Visuals documentation, checked on 19 November 2026. It also shows where an original WaveQuake recording can enter the workflow. The scene counts below are planning examples, not a new hands-on quality comparison or a promise about generation costs.
1. Lock the song before planning the scenes
Choose the exact recording and export you intend to use. Listen to the full file, check the lyrics and note the important section changes. Mark the first vocal, chorus entries, instrumental breaks and ending. Those events give the visual sequence a structure that belongs to the song.
Keep a copy of the approved audio outside the generation service. Name it clearly and record its duration. If you later change the track, give the new export a new version rather than replacing the file silently and hoping the video still fits.
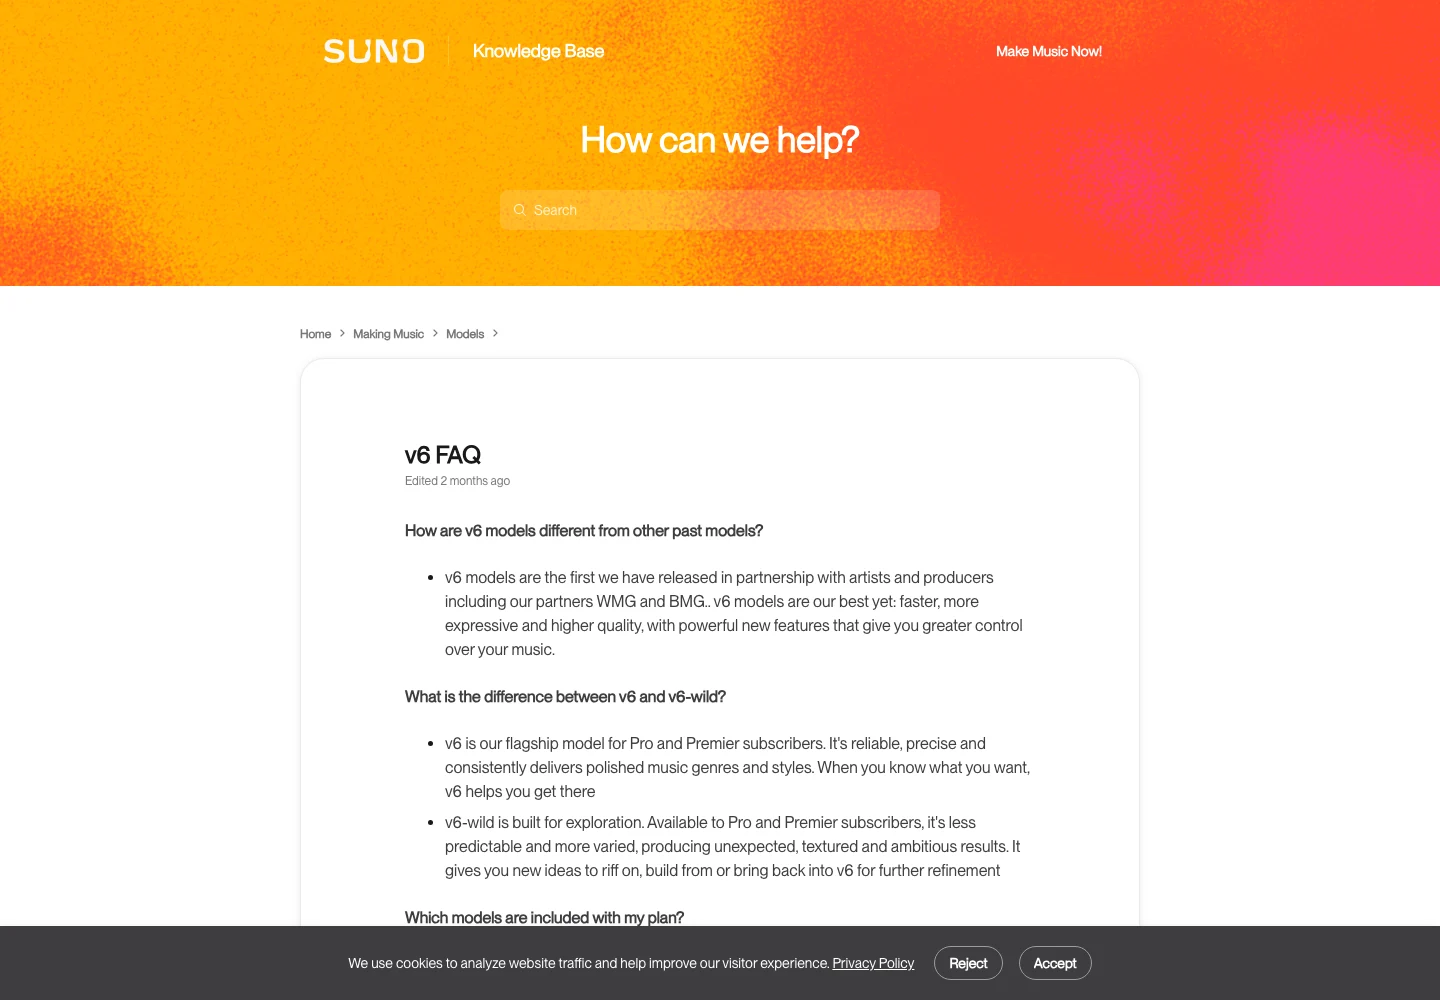
Suno’s V6 documentation explains the current music model family. Model selection happens before this video workflow: once the performance is approved, treat the soundtrack as a fixed editing reference unless you deliberately reopen the music stage.
For a WaveQuake song, finish the same checks before exporting it for video. A strong preview is not enough; hear the actual downloaded recording and make sure the last chorus and ending are the versions you want to present.
2. Choose one visual idea that can sustain a sequence
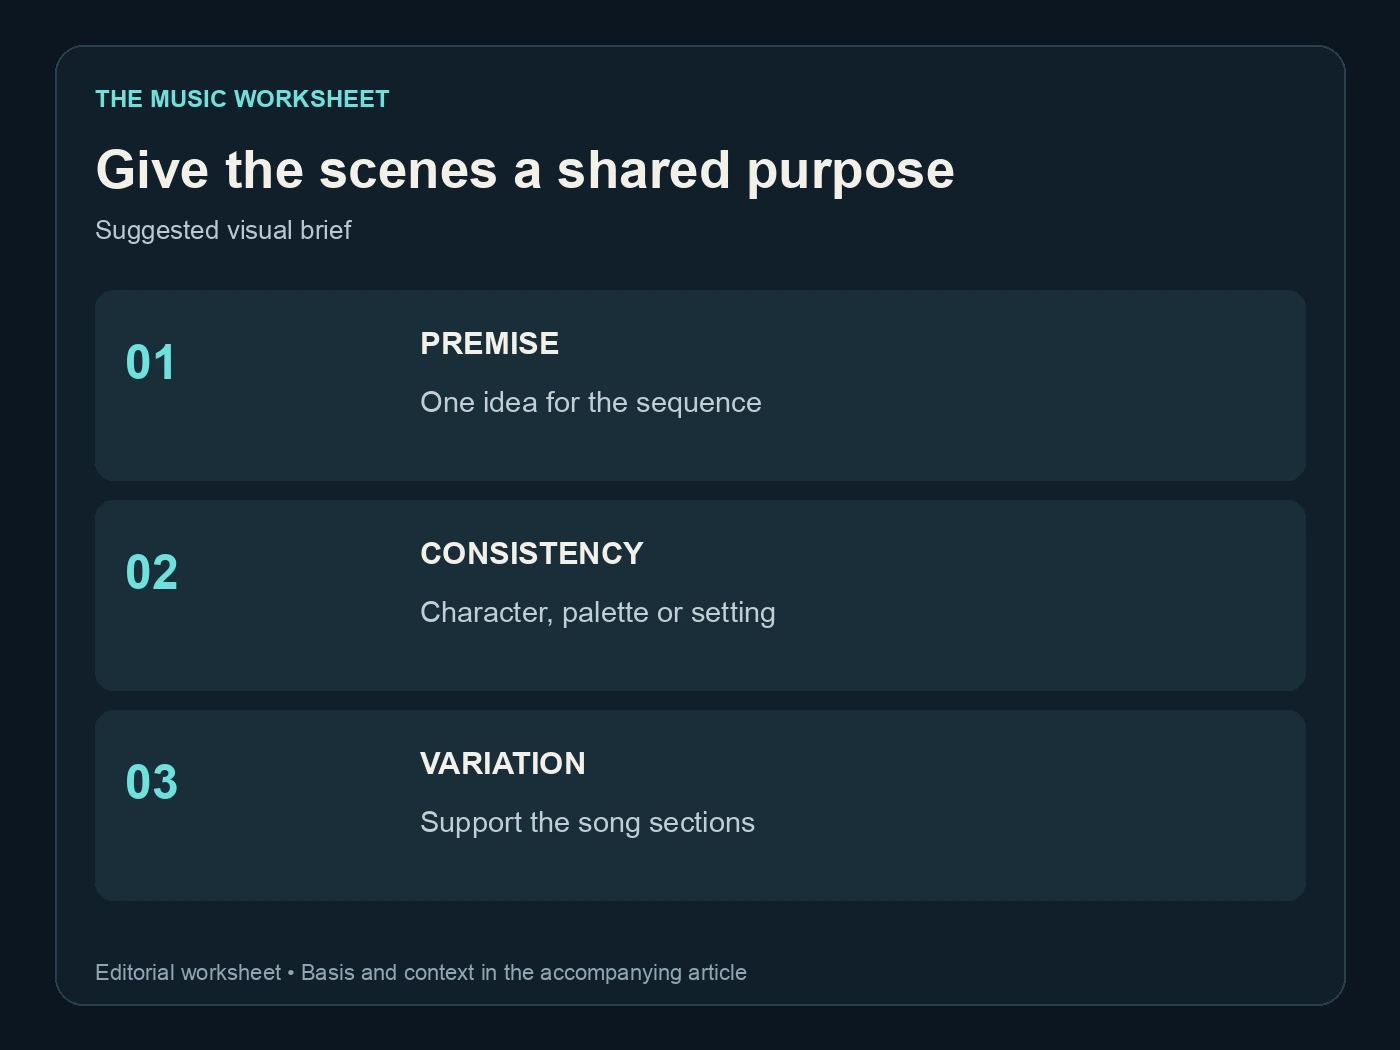
Write a short visual premise. It could be a night journey through a city, a performer in a changing room or a series of objects connected to the lyric. A coherent premise gives individual clips a shared direction without requiring every line to be illustrated literally.
Decide what should remain consistent: character, palette, setting, camera distance or recurring object. Then identify where variation helps the song. A chorus may use a wider view or stronger motion while the verse stays close and restrained.
The premise should also fit the assets you can legitimately use. If you upload a reference portrait, have permission to use that person’s likeness for the project. Do not build the concept around impersonating a performer whose appearance or recording you do not control.
Keep the first plan small enough to evaluate. A short chorus sequence can establish the visual language before you commit to a full song. Review it with the soundtrack rather than approving clips only as silent images.
3. Start with the documented Visuals workflow
The official creation guide describes opening a song’s action menu and choosing Create Visual, then Video Clip. It also describes creating through the Visuals area. The interface offers a prompt for the scene and options for adding audio and visual references.
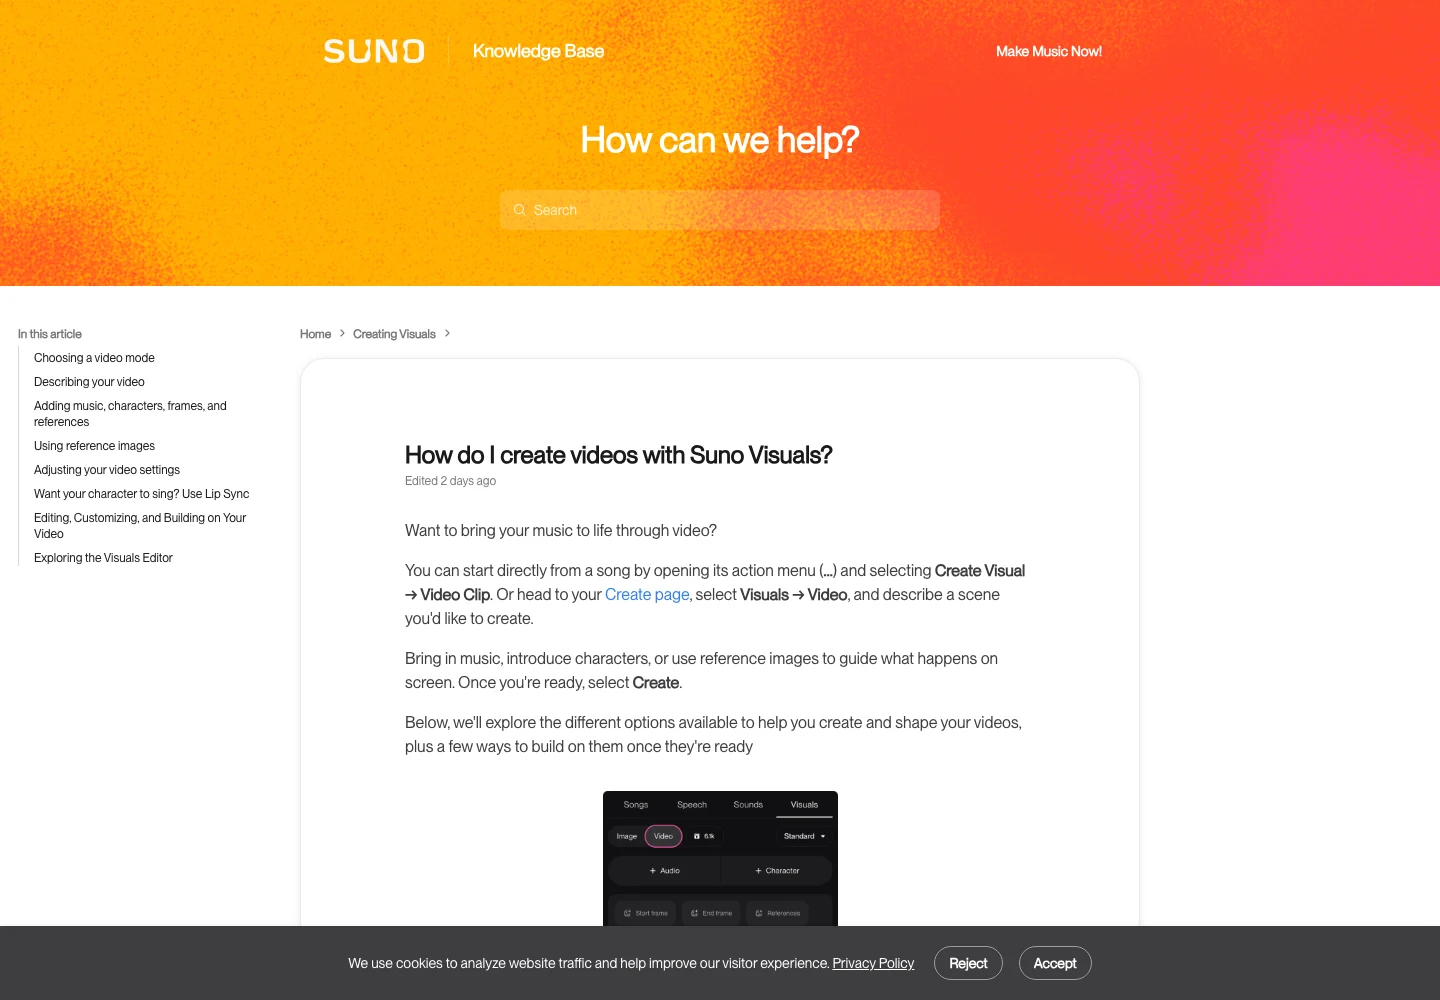
The guide’s audio workflow allows selecting a song from the library or uploading audio. That is the documented route relevant to an original WaveQuake export. It is a file handoff, not evidence of a special WaveQuake integration or shared account connection.
Add only the references needed to communicate the scene. Character, start or end frames and general reference images serve different purposes. A large set of inconsistent references can make your own brief harder to evaluate even before a generation starts.
Describe what happens on screen in concrete terms: subject, action, location, camera movement and lighting. Keep the instruction focused enough that you can later say whether the clip fulfilled it. “A lonely cinematic masterpiece” gives you less useful direction than a person waiting under a station light as a train passes behind them.
4. Set duration and framing for the destination
Suno’s current guide documents clip durations from five to fifteen seconds and aspect ratios including vertical, square and landscape formats. Choose the format before generating a set of scenes. Cropping a finished landscape composition into vertical can remove the face, object or movement that made it work.
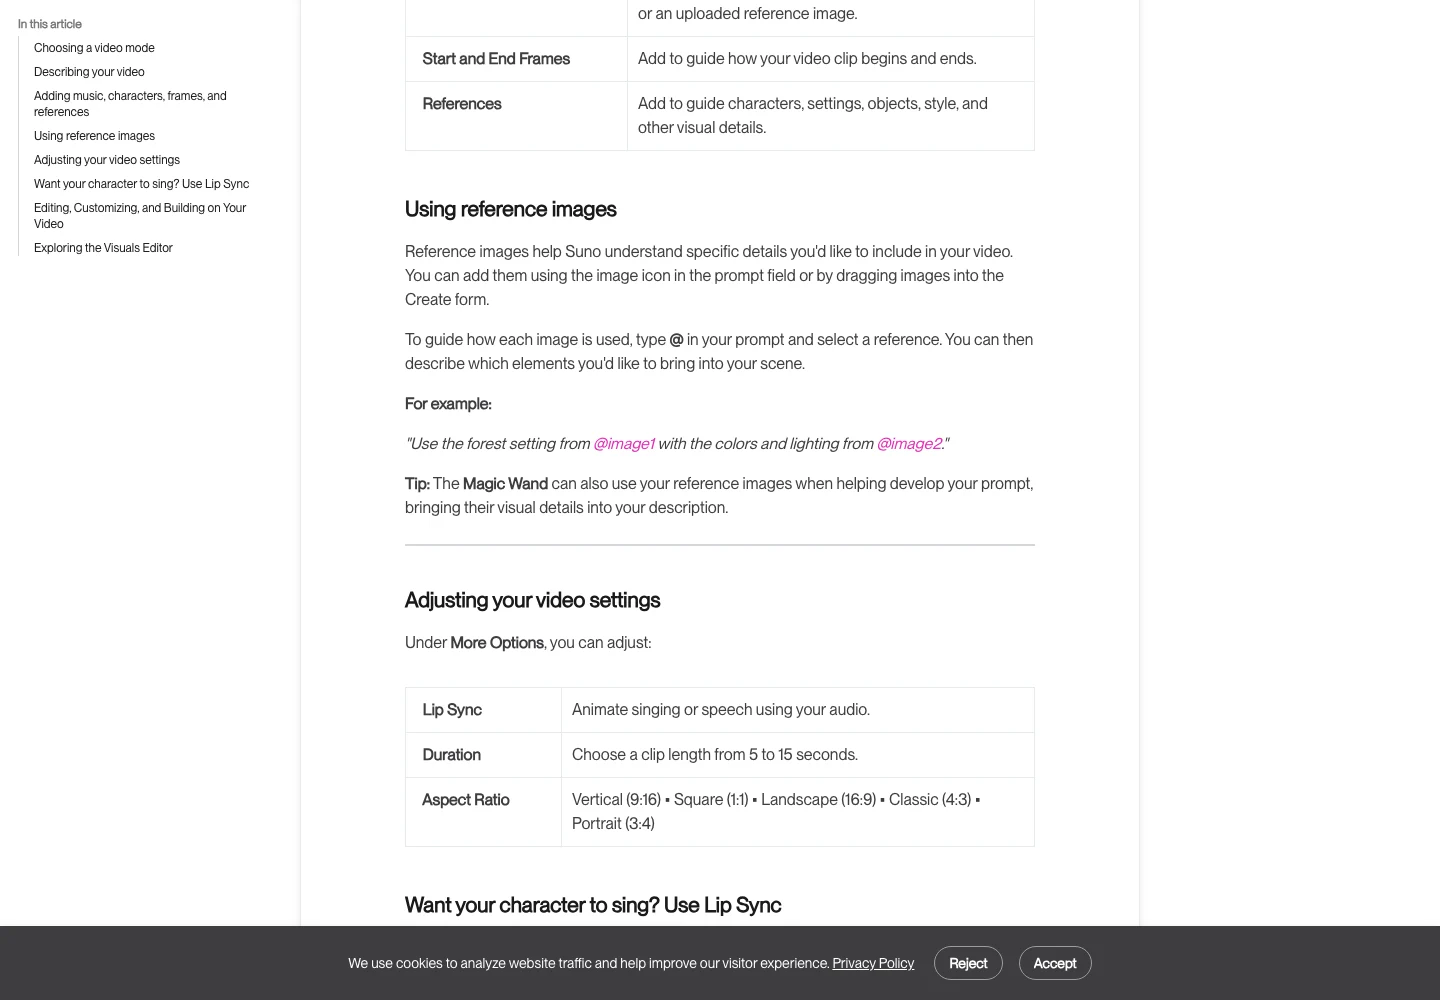
| Intended composition | Documented ratio | Example use |
|---|---|---|
| Tall frame | 9:16 | Vertical performance clip |
| Square frame | 1:1 | Centred visual motif |
| Wide frame | 16:9 | Landscape music video |
| Compact landscape | 4:3 | Deliberately narrower composition |
| Portrait frame | 3:4 | Portrait-oriented scene |
These are available framing choices, not a guarantee that every destination accepts every export specification. Check the actual platform requirements when preparing the final file. A full music video and a Spotify Canvas are different deliverables; use the Canvas size guide for that separate task.
The documented generation modes include Fast at 480p and Standard at 720p. Check the current controls and pricing before submitting. A higher export size applied later cannot recreate image detail that was absent from the source clip.
5. Turn the song map into a realistic clip plan
Short generation lengths mean a complete song needs an assembly plan. Divide the soundtrack into sections, then decide where a new shot is useful. You do not need to change scenes at every bar, and a repeated visual motif can help a chorus feel connected across the video.
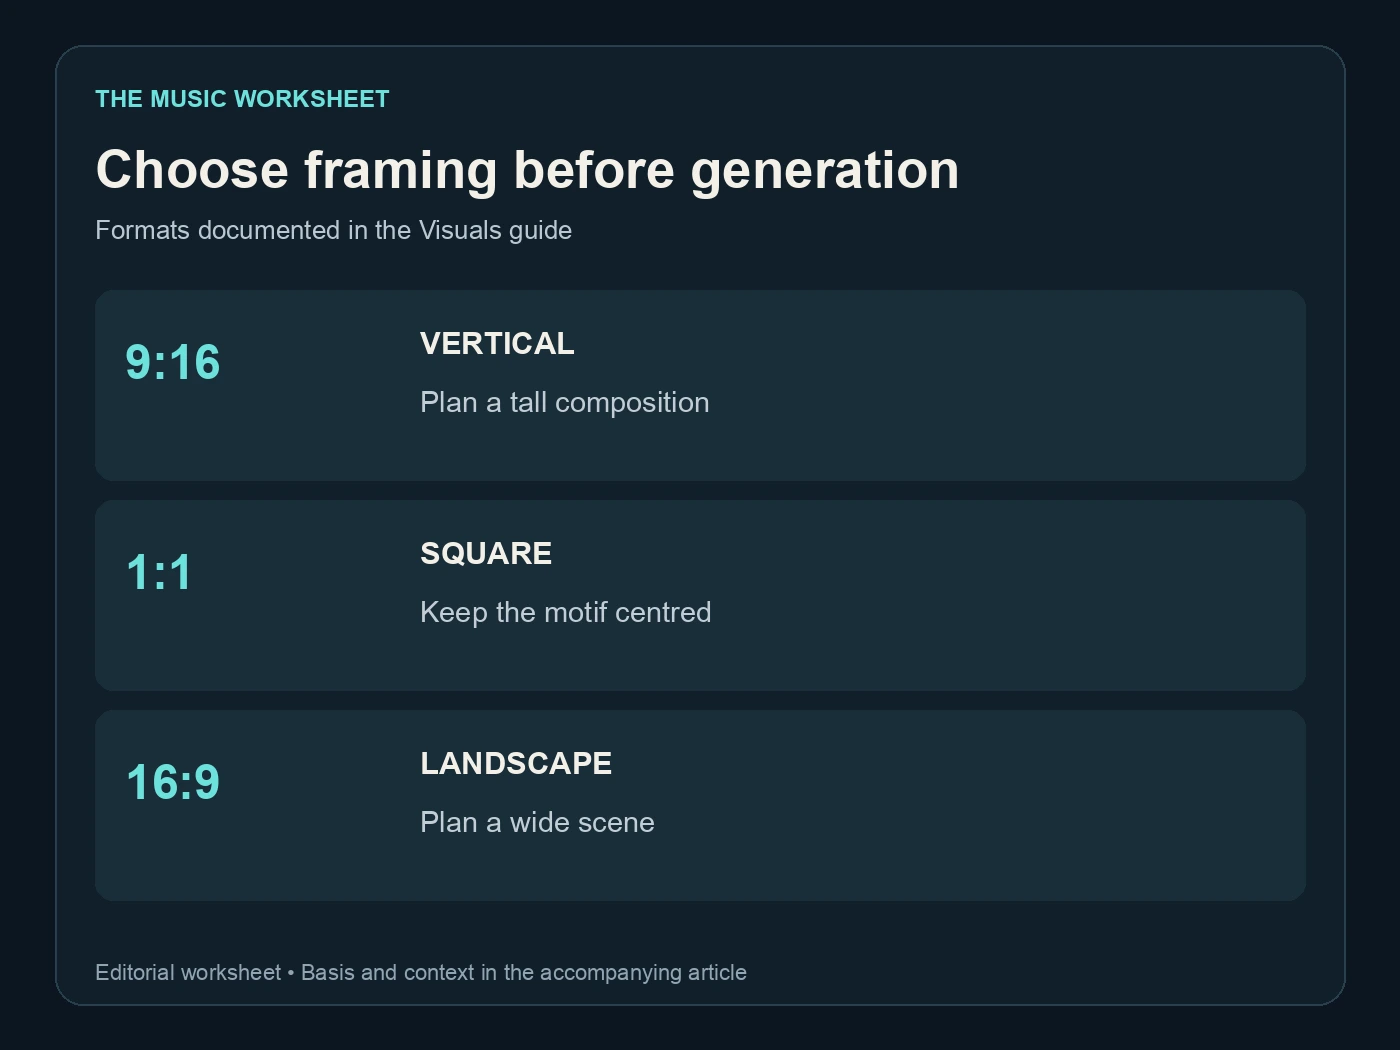
The arithmetic below assumes complete coverage with equal-length clips and no overlap, repetition or trimming. Real editing will differ. The table helps estimate the scale of a project; it is not a price calculation because generation mode and other choices affect credit use.
| Soundtrack length | 5-second clips | 10-second clips | 15-second clips |
|---|---|---|---|
| 30 seconds | 6 | 3 | 2 |
| 60 seconds | 12 | 6 | 4 |
| 180 seconds | 36 | 18 | 12 |
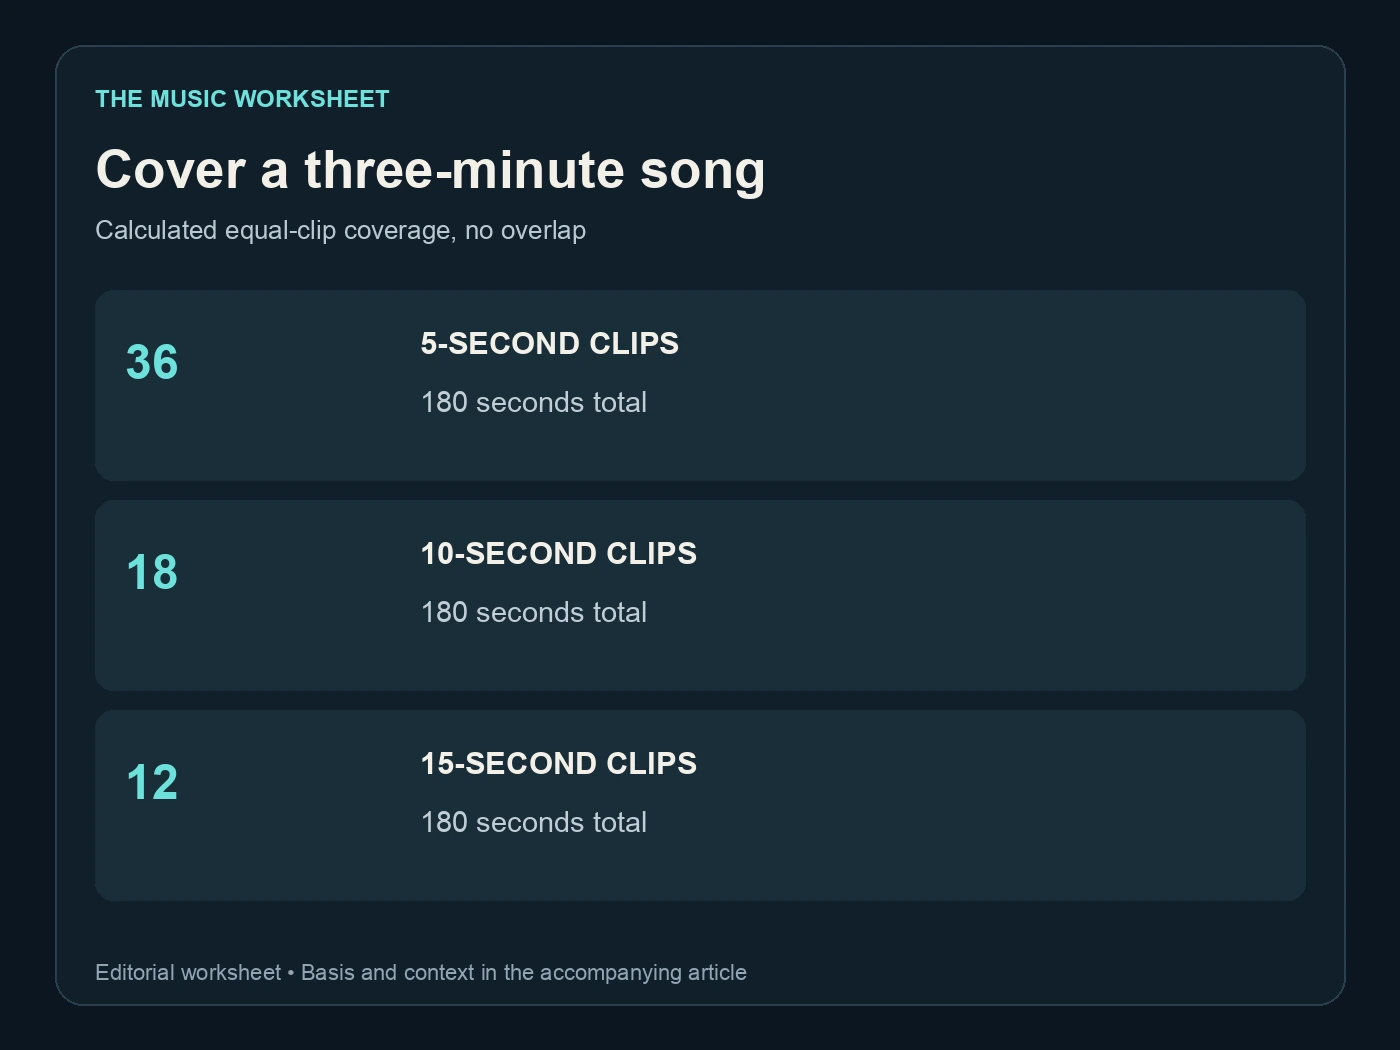
For a three-minute song, eighteen ten-second clips are a coverage calculation, not an instruction to buy eighteen generations. Some outputs may need replacement, some scenes may be reused deliberately and some sections may work better with still imagery or conventional footage.
Review a representative scene before expanding the sequence. If the character, motion or lighting is unsuitable, revise the brief while the project is still small. Repeating an unclear prompt across a full storyboard multiplies the editing problem.
6. Budget Visual Credits separately from music
Suno’s Visual Credits explanation distinguishes visual generation credits from song-generation credits. It also states that purchased Visual Credits do not expire. Check your account balance and the current cost shown for the selected operation before confirming a generation.
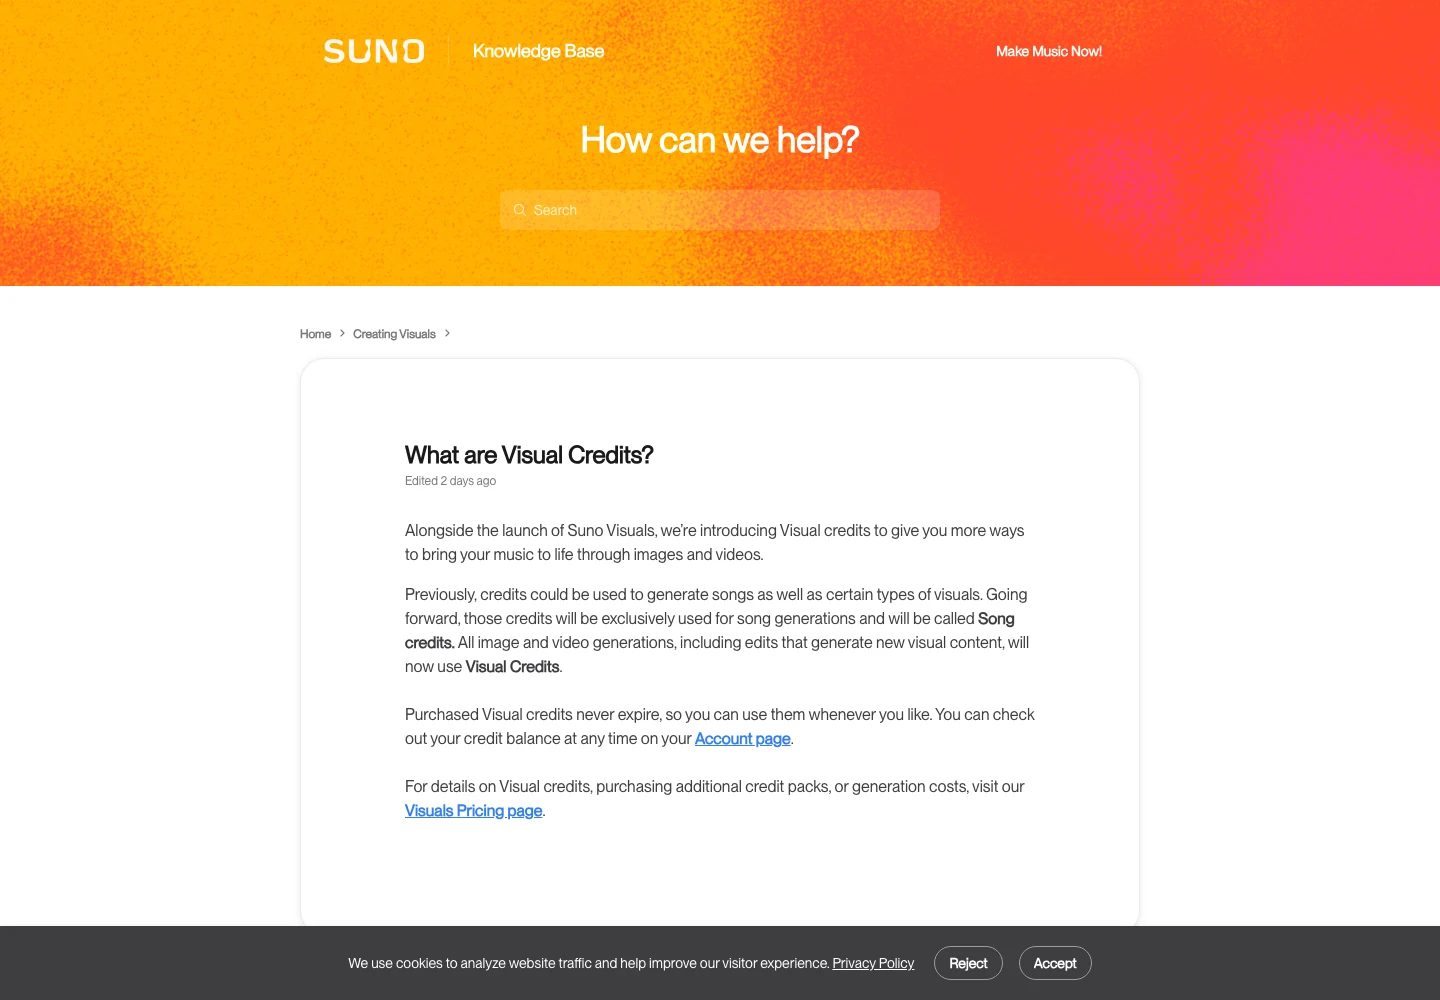
Do not estimate a video budget by counting the Song Credits left on your music plan. Likewise, a temporary trial allowance is not a dependable long-term production budget. The current offer and your account’s actual entitlements are the relevant numbers.
Keep a simple project record: scene identifier, prompt version, duration, mode, submitted cost and selected output. If a job appears delayed, inspect its status before submitting the same scene again. A duplicate generation may create an extra charge without solving the original uncertainty.
Set a review point after the first few usable clips. Compare the visual direction, remaining work and credits spent. It is easier to simplify a concept early than to discover near the end that the project needs twice as many replacement scenes as expected.
7. Bring a WaveQuake song into the video workflow
WaveQuake can supply an original soundtrack built through its writing and studio workflow. Develop the lyric and musical direction, select the performance and save the approved export. Then use Visuals’ documented audio-upload option if the file and intended use meet the current requirements.

The current WaveQuake pricing page lists a $149.99 one-time founder offer with unlimited Standard Generations. That describes the music product; it does not include Suno Visual Credits or imply that video generation is part of the same purchase.
WaveQuake’s working library has 10 GB of storage and 30-day retention. Keep the selected recording in your own video-project archive, along with the lyric sheet and any relevant permissions. The video should remain editable even if a temporary studio file is no longer available.
WaveQuake’s commercial-use page describes its license. Check all other source material too, including uploaded images, footage and voices. A music license does not automatically clear every visual element in the finished video.
If you use Undetectr during audio preparation, settle and approve that resulting file before synchronising the video. A later audio replacement deserves a timing and full-playback check, even when the song title has not changed.
The WaveQuake review covers the wider studio, while our song-before-video workflow expands on choosing the final soundtrack.
8. Assemble, caption and review the finished sequence
The Visuals guide describes saving clips to the library, arranging them on a timeline and trimming or reordering them. Use the song map to place transitions deliberately. A shot change can support a phrase ending or chorus entrance without occurring at every available beat.
Lip Sync is a separate creative choice. The documentation recommends a clear face and suitable audio. Inspect the generated mouth movement and facial consistency in the actual clip rather than assuming a successful job status means the performance is convincing.
For lyrics, the guide describes a Show Lyrics control with styling options. Check every displayed word against the approved recording. Names, repeated lines and edited phrases deserve particular attention; attractive typography cannot compensate for the wrong lyric.
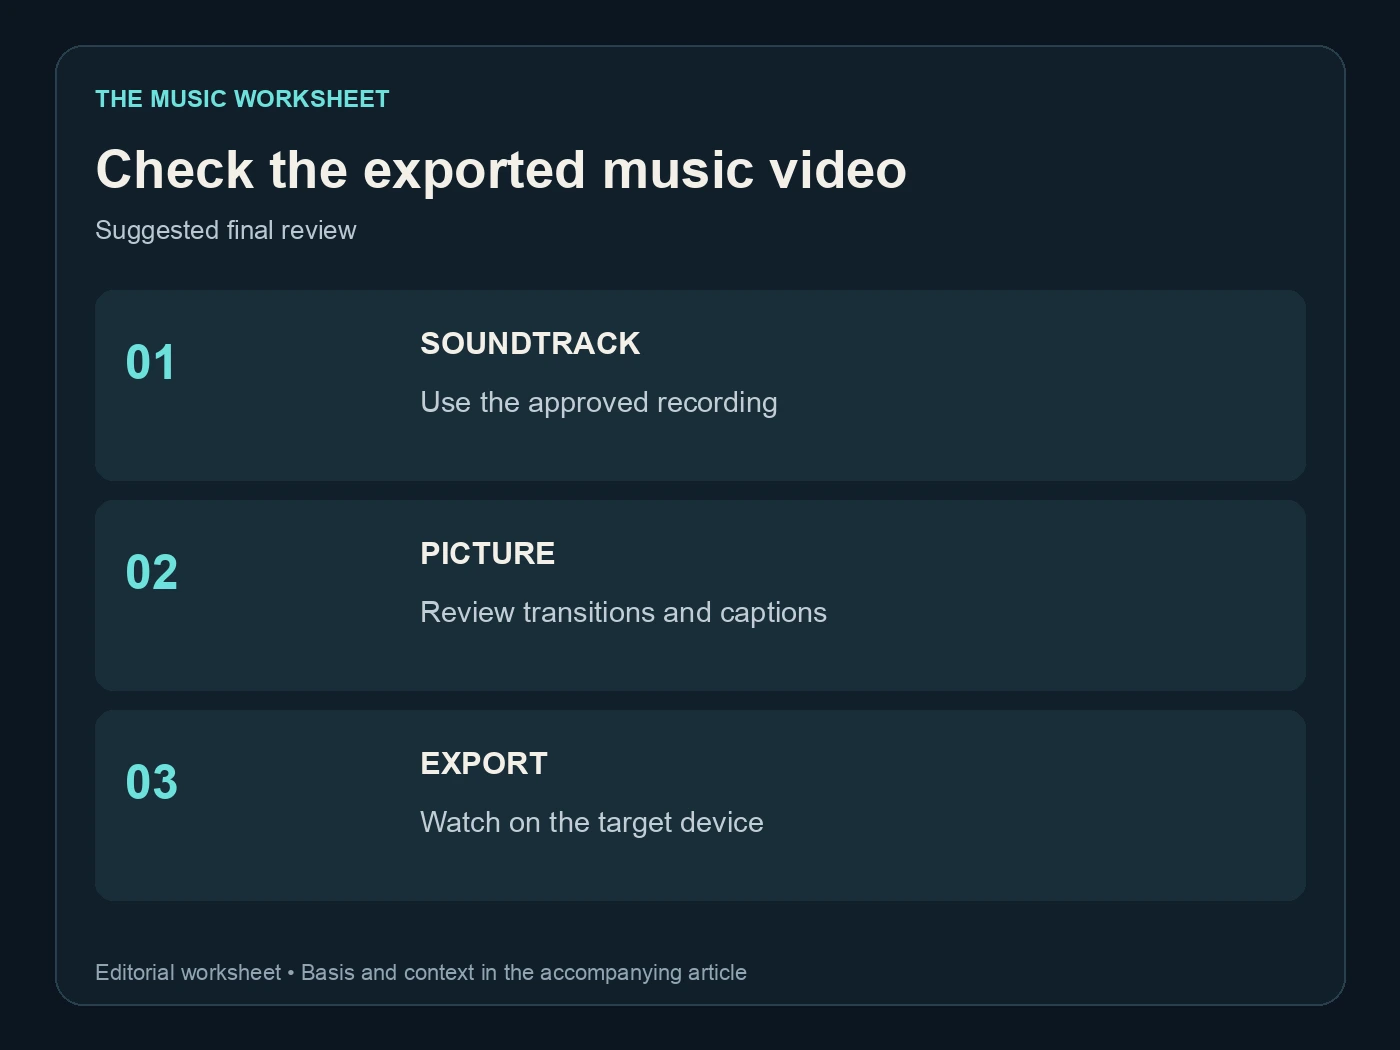
Review the complete video with sound, then inspect the exported file on the target device. Check the opening, transitions, captions, ending and whether important visual elements survive the intended display size. Keep a versioned final file and the soundtrack used to render it.
Archive the selected clips, prompt notes, reference permissions and project timeline. That record lets you make a shorter preview or a revised edit later without rebuilding the whole video from scratch.